Mini Chocolate Lava Cakes
Highlighted under: Cake Shop Recipes
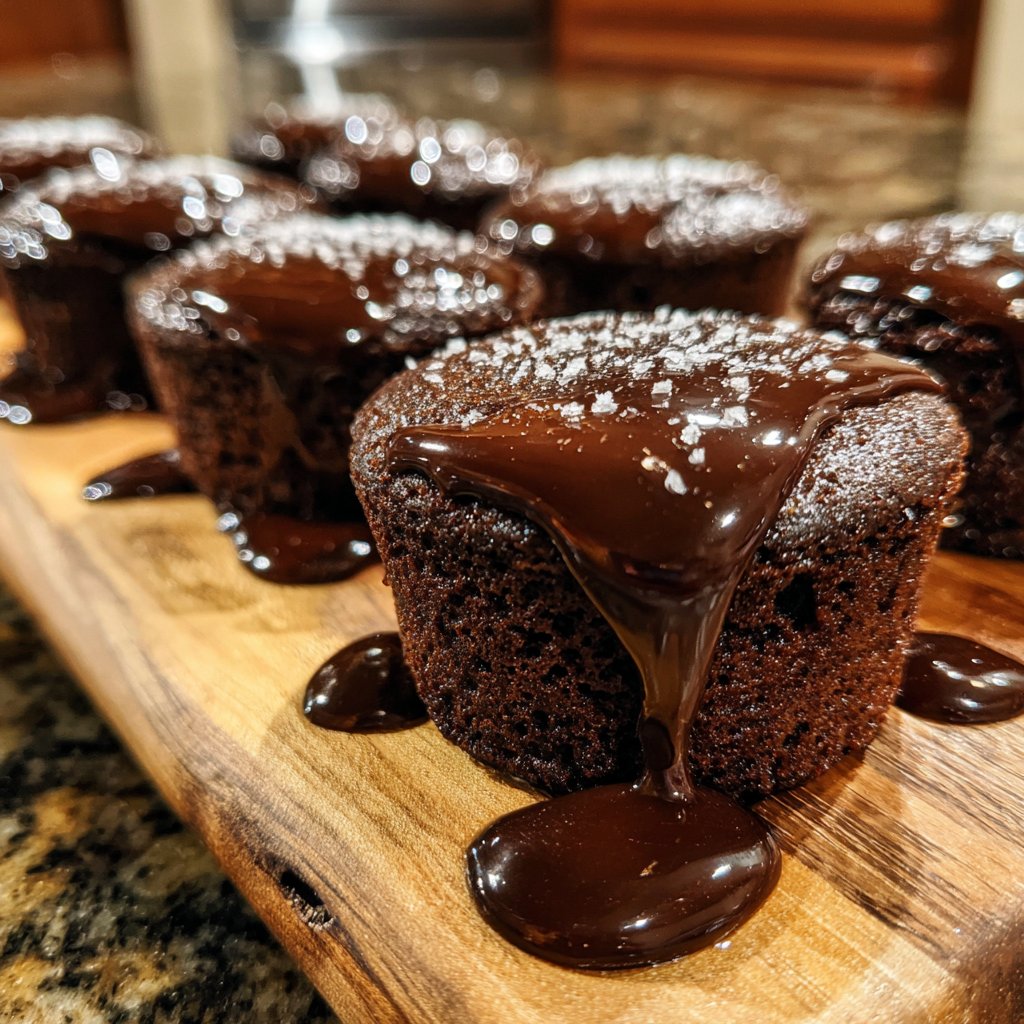
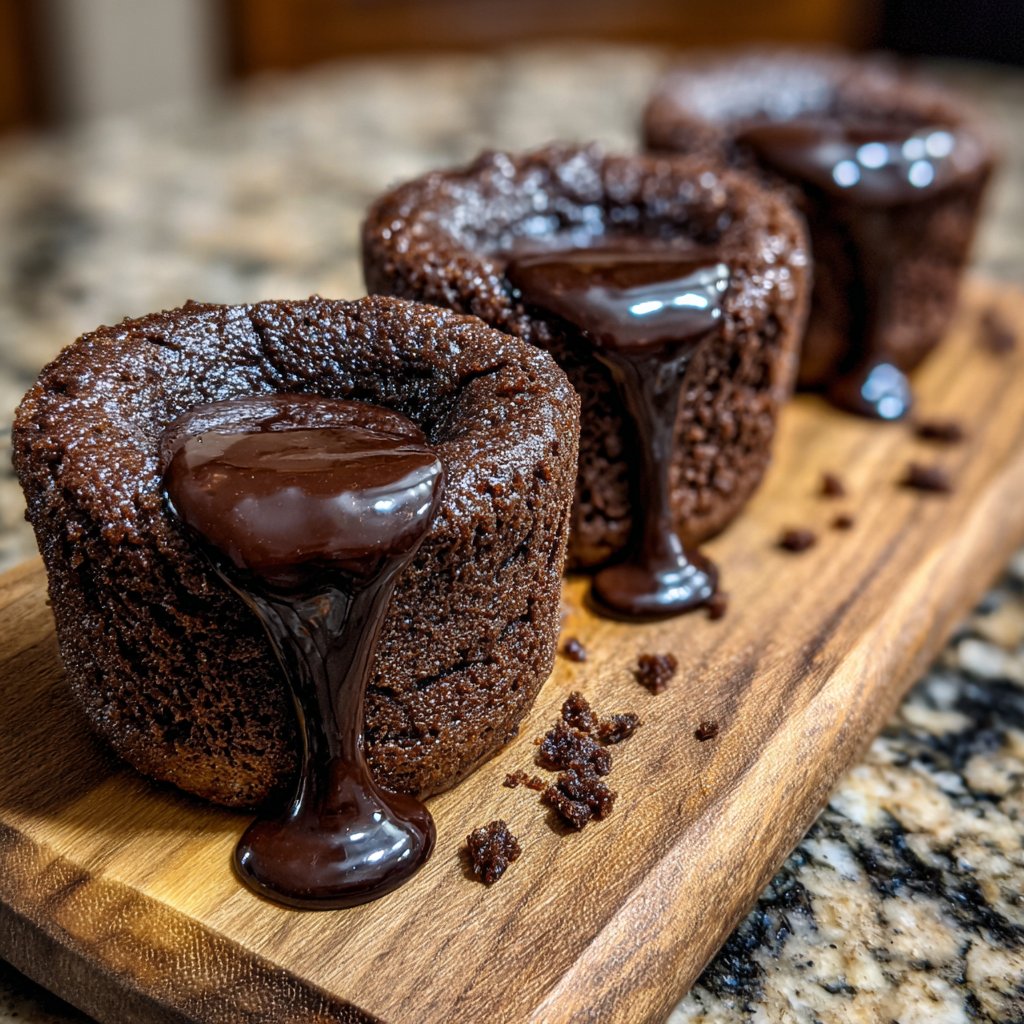
I’ve always had a soft spot for rich, molten chocolate desserts, and these Mini Chocolate Lava Cakes are my go-to whenever I want to impress guests or treat myself. With their perfectly gooey centers, they combine convenience with decadence in a way that feels fancy yet achievable. The best part? They can be whipped up in just 30 minutes, and they are sure to leave everyone wanting more. Trust me, once you try them, you'll understand why they have earned a special place in my heart.
When I first attempted these Mini Chocolate Lava Cakes, I was nervous about getting the texture just right. After a few tries, I learned that baking them for exactly 12 minutes yields that perfect gooey center, while the outside is delicately set. The secret is watching closely—the cakes will continue to cook slightly after you take them out of the oven, so don't be afraid to take them out a minute early!
Experimenting with different chocolates was also a game changer for me. Using a high-quality dark chocolate balance out the sweetness beautifully, resulting in a dessert that feels indulgent but not overwhelmingly rich. Each bite is a delightful combination of warm, molten chocolate with a slight hint of bitterness, making every forkful a heavenly experience.
Why You'll Love These Mini Chocolate Lava Cakes
- Decadently rich chocolate flavor that satisfies every sweet tooth
- Individual servings for a perfectly elegant presentation
- Quick to prepare, making them ideal for last-minute gatherings
- A wonderful surprise with their gooey molten center
Mastering the Lava Cake Technique
Achieving the perfect molten center in your Mini Chocolate Lava Cakes requires precise timing. Bake them for 12-14 minutes; the edges should firm up while the center remains soft and jiggly. Overbaking can lead to a fully cooked cake instead of the desired gooeyness, so keep an eye on them and perform the 'wiggle test' to gauge readiness. A slight jiggle in the center indicates a successful lava cake, ready to be devoured.
Using high-quality chocolate is essential for rich flavor and smooth texture. I recommend opting for dark chocolate with at least 60% cocoa content to balance the sweetness of the sugar, providing a decadent depth of flavor. Avoid chocolate chips, as they may not melt as seamlessly, affecting the final texture of your cakes.
Ingredient Variations and Substitutions
If you’re looking to customize this recipe for dietary needs, consider using dairy-free butter and chocolate to make a vegan version. Coconut oil also works well as a substitute for butter, adding a unique flavor while maintaining the recipe's structure. Just ensure that the coconut oil is melted before combining it with the chocolate to maintain that silky consistency.
For those watching their sugar intake, you can experiment with alternatives like coconut sugar or even a stevia blend. These substitutes will alter the flavor profile slightly but can still yield delicious results. Just remember that different sweeteners can vary in sweetness and moisture content, so you might need to adjust the quantity accordingly.
Serving and Storage Tips
These Mini Chocolate Lava Cakes are best served immediately after baking while the centers are still gooey. However, if you need to prepare them in advance, you can refrigerate the batter in the ramekins for up to 24 hours before baking. Just let them sit at room temperature for about 30 minutes before popping them in the oven to ensure even cooking.
If you have leftovers, store the cooled cakes in an airtight container in the fridge for up to two days. To reheat, pop them in the microwave for about 10-15 seconds until warm. Pair with a scoop of vanilla ice cream or a dusting of powdered sugar for an indulgent treat that feels fresh out of the oven!
Ingredients
Gather the following ingredients to make your Mini Chocolate Lava Cakes:
Ingredients
- 1/2 cup unsalted butter
- 1 cup high-quality dark chocolate, chopped
- 2 large eggs
- 2 large egg yolks
- 1/4 cup granulated sugar
- 2 tablespoons all-purpose flour
- 1/2 teaspoon vanilla extract
- Pinch of salt
Make sure all ingredients are at room temperature for the best results.
Instructions
Follow these steps to create your delicious Mini Chocolate Lava Cakes:
Preheat the Oven
Preheat your oven to 425°F (220°C) and grease four ramekins with butter. Dust them with cocoa powder to ensure the cakes easily release after baking.
Melt Chocolate and Butter
In a microwave-safe bowl, combine the chopped chocolate and butter. Microwave in 30-second intervals, stirring in between, until completely melted and smooth.
Combine Ingredients
In another bowl, whisk together the eggs, egg yolks, and granulated sugar until pale and slightly thickened. Stir in the melted chocolate mixture and vanilla extract. Carefully fold in the flour and a pinch of salt until just combined.
Fill Ramekins
Evenly distribute the batter into the prepared ramekins, filling them about 2/3 full.
Bake
Bake in the preheated oven for 12-14 minutes, until the edges are firm but the center is soft and jiggly.
Cool and Serve
Let the cakes cool for a minute, then carefully invert each ramekin onto a plate and let them sit for a few seconds before lifting off the ramekin. Serve warm, optionally topped with powdered sugar or vanilla ice cream.
Enjoy your decadent treats fresh out of the oven!
Pro Tips
- For an extra touch, try adding a dollop of raspberry jam to the center of each cake before baking for a fruity contrast to the chocolate.
Baking Tools You’ll Need
To achieve the best results with these Mini Chocolate Lava Cakes, a set of four 6-ounce ramekins is ideal. The size ensures that each cake bakes evenly and yields the perfect molten center. If you don't have ramekins, you could also use muffin tins, but ensure to adjust your baking time, as they may cook faster.
A microwave-safe bowl for melting chocolate and butter makes the process simple and efficient. Using a silicone spatula is excellent for folding ingredients gently without deflating the mixture, which is crucial for maintaining the airy texture of the batter.
Troubleshooting Common Issues
If your lava cakes don’t release from the ramekins easily, it could be due to insufficient greasing. Always use butter and coat the ramekins well, followed by dusting with cocoa powder. This not only prevents sticking but also adds an extra touch of chocolate flavor to the exterior of the cakes.
For cakes that are too dense, ensure that you're not overmixing after adding the flour. It's crucial to fold the mixture just until combined; overmixing can lead to a tougher texture. Trust me, the less you handle the batter at this stage, the more tender your cakes will be!
Perfect Pairings and Serving Suggestions
When serving Mini Chocolate Lava Cakes, consider pairing them with fresh berries or a drizzle of raspberry coulis to balance the rich chocolate. The tartness cuts through the sweetness beautifully and adds a burst of freshness to every bite.
For an elegant touch, top with whipped cream or a dollop of mascarpone cheese infused with vanilla. This not only enhances the dish visually but also adds a creamy complement to the molten chocolate inside each cake, creating a truly indulgent dessert experience.
Questions About Recipes
→ Can I prepare the batter in advance?
Yes! You can prepare the batter, pour it into the ramekins, and refrigerate them for a few hours before baking. Just be sure to bring them back to room temperature before baking.
→ What type of chocolate should I use?
Using high-quality dark chocolate (70% cocoa or higher) will provide the richest flavor and best texture.
→ Can I make these gluten-free?
Absolutely! Replace the all-purpose flour with a gluten-free flour blend to make these cakes gluten-free.
→ What can I serve with the lava cakes?
They pair wonderfully with vanilla ice cream, whipped cream, or fresh berries for a bright contrast.
Mini Chocolate Lava Cakes
Created by: The Chefellacooks Team
Recipe Type: Cake Shop Recipes
Skill Level: Intermediate
Final Quantity: 4 servings
What You'll Need
Ingredients
- 1/2 cup unsalted butter
- 1 cup high-quality dark chocolate, chopped
- 2 large eggs
- 2 large egg yolks
- 1/4 cup granulated sugar
- 2 tablespoons all-purpose flour
- 1/2 teaspoon vanilla extract
- Pinch of salt
How-To Steps
Preheat your oven to 425°F (220°C) and grease four ramekins with butter. Dust them with cocoa powder to ensure the cakes easily release after baking.
In a microwave-safe bowl, combine the chopped chocolate and butter. Microwave in 30-second intervals, stirring in between, until completely melted and smooth.
In another bowl, whisk together the eggs, egg yolks, and granulated sugar until pale and slightly thickened. Stir in the melted chocolate mixture and vanilla extract. Carefully fold in the flour and a pinch of salt until just combined.
Evenly distribute the batter into the prepared ramekins, filling them about 2/3 full.
Bake in the preheated oven for 12-14 minutes, until the edges are firm but the center is soft and jiggly.
Let the cakes cool for a minute, then carefully invert each ramekin onto a plate and let them sit for a few seconds before lifting off the ramekin. Serve warm, optionally topped with powdered sugar or vanilla ice cream.
Extra Tips
- For an extra touch, try adding a dollop of raspberry jam to the center of each cake before baking for a fruity contrast to the chocolate.
Nutritional Breakdown (Per Serving)
- Calories: 380 kcal
- Total Fat: 26g
- Saturated Fat: 15g
- Cholesterol: 195mg
- Sodium: 85mg
- Total Carbohydrates: 32g
- Dietary Fiber: 3g
- Sugars: 24g
- Protein: 6g