New York Style Cheesecake
Highlighted under: Cake Shop Recipes
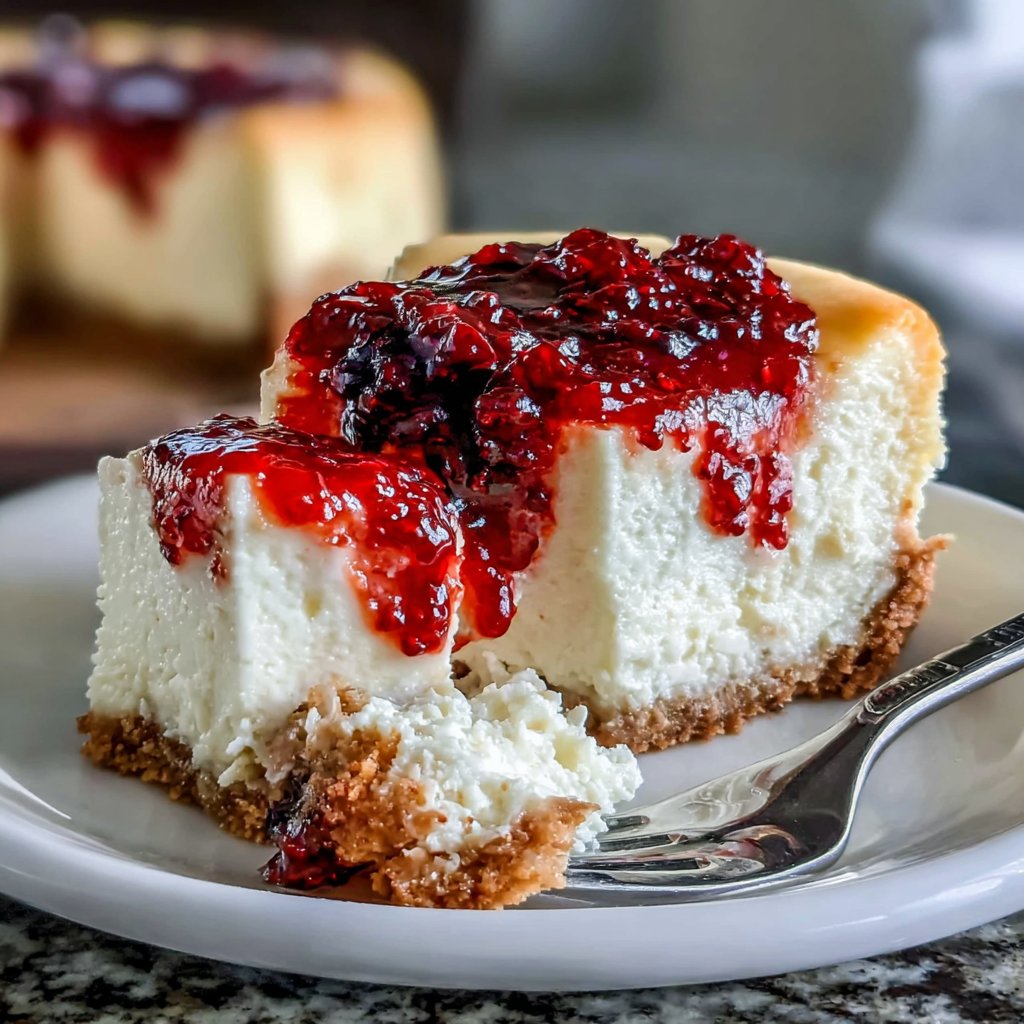
I have always been captivated by the rich, creamy texture of New York Style Cheesecake. It’s one of those desserts that brings back memories of family gatherings and celebrations. When I set out to make my own, I wanted to replicate that velvety indulgence while ensuring the flavor was just right. The combination of cream cheese, sour cream, and a hint of lemon zest creates a harmonious balance that I can’t resist. Every bite feels like a little piece of happiness!
Each time I bake this cheesecake, I’m reminded of the first slice I had at a quaint little café in New York. The crust was perfectly crumbly, and the filling was so luscious that I found myself dreaming about it for weeks. I experimented with different crusts and filling ratios until I found the perfect combination that keeps everyone coming back for seconds!
One of my favorite tips is to let the cheesecake sit after baking. This not only allows the flavors to meld beautifully but also helps prevent cracking on the surface. Remember, patience is key for achieving that glorious, smooth finish!
Why You'll Love This Recipe
- Rich, tangy flavor balanced with a smooth, creamy texture
- Classic dessert that impresses family and friends
- Versatile for any occasion, from casual to elegant
The Art of the Perfect Crust
The crust is an essential component of any cheesecake, especially in a New York Style Cheesecake where it provides a contrast to the creamy filling. It's important to ensure your graham cracker crumbs are finely crushed for uniform texture. If you find the crust too crumbly, a little extra melted butter can help bind it together and give it that perfect firmness once baked.
When pressing the crust into the springform pan, make sure to use the bottom of a measuring cup or your fingers to pack it tightly. This will help prevent the crust from crumbling when you slice the cheesecake. Keep an eye on your oven temperature; a well-baked crust should be lightly golden and fragrant, typically around 10 minutes at 350°F (175°C).
Mastering the Filling
Achieving the right consistency for your cheesecake filling is crucial. Start by ensuring your cream cheese is fully softened; this prevents lumps and helps create that smooth texture. Beating the cream cheese until glossy is key, so do this at medium speed. Gradually incorporating sugar also helps dissolve it fully, avoiding a grainy filling.
Don't skip the sour cream, lemon juice, and zest. These ingredients not only enhance the flavor profile but also contribute to the cheesecake's creamy texture. If you're looking to reduce fat, consider a low-fat cream cheese or Greek yogurt for the sour cream, though be aware that this may slightly alter the final texture and flavor profile.
Ingredients
Gather all the ingredients before you start to ensure a smooth baking process.
Crust
- 1 1/2 cups graham cracker crumbs
- 1/4 cup granulated sugar
- 1/2 cup unsalted butter, melted
Filling
- 4 (8 oz) packages cream cheese, softened
- 1 cup granulated sugar
- 1 teaspoon vanilla extract
- 3 large eggs
- 1 cup sour cream
- 2 tablespoons lemon juice
- 1 teaspoon lemon zest
Preheat your oven while you prepare the filling to ensure it’s hot when you’re ready to bake.
Instructions
Make sure to read through the steps carefully for best results.
Prepare the crust
In a mixing bowl, combine graham cracker crumbs, sugar, and melted butter until well blended. Press the mixture into the bottom of a 9-inch springform pan and up the sides if desired. Bake at 350°F (175°C) for 10 minutes and then let cool.
Make the filling
In a large bowl, beat the softened cream cheese until smooth. Gradually add the sugar and beat until well combined. Mix in the vanilla, then add the eggs one at a time, mixing just until incorporated. Finally, stir in the sour cream, lemon juice, and zest.
Bake
Pour the filling over the crust and smooth the top. Bake in a preheated oven at 350°F (175°C) for about 60 minutes. The center should be set but slightly jiggly.
Cool and serve
Turn off the oven and crack the door, letting the cheesecake cool slowly inside for an hour. Remove from the oven and let it cool to room temperature before refrigerating for at least 4 hours, or overnight. Serve chilled.
Slice with a hot, dry knife for clean cuts.
Pro Tips
- Letting the cheesecake cool slowly in the oven can help prevent cracks in the surface. Also, chilling it overnight gives the best flavor and texture.
Serving Suggestions
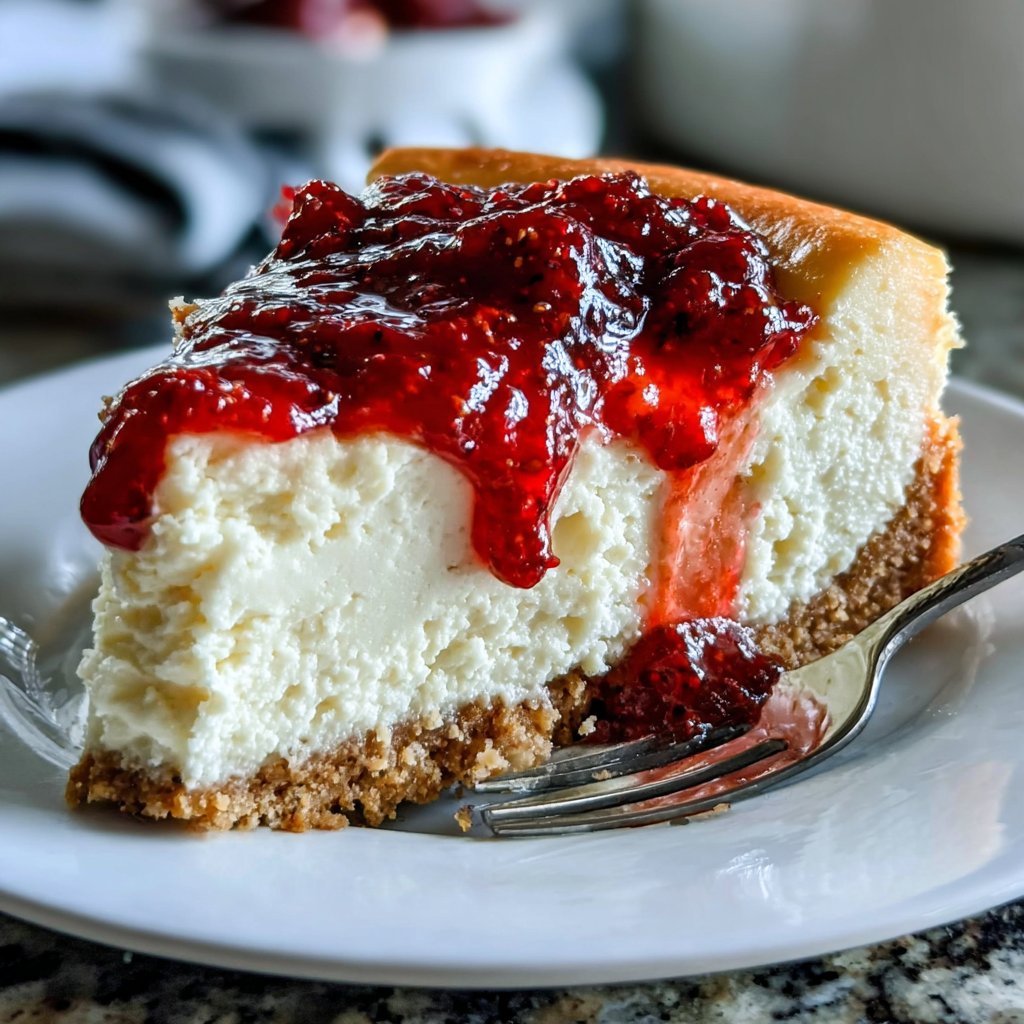
This cheesecake stands beautifully on its own, but you can elevate it with a variety of toppings. Fresh berries, like strawberries or blueberries, add a bright contrast and freshness. A drizzle of chocolate or caramel sauce can also provide a decadently sweet twist. Just remember to keep your toppings light so they don't overwhelm the cheesecake's rich flavor.
For a festive touch, consider serving slices with whipped cream on the side, perhaps accented with a sprinkle of lemon zest. These garnishes provide not only visual appeal but also added flavor layers that complement the cheesecake's profile. If you're serving it at a gathering, offering a selection of toppings allows guests to personalize their slices.
Storage and Make-Ahead Tips
Making your cheesecake ahead of time is a great way to reduce stress on the day of the event. Once fully cooled and refrigerated, it can last for up to a week, covered tightly with plastic wrap or in an airtight container. This attribute makes it an excellent choice for celebrations, allowing the flavors to develop and mature over time.
If you want to freeze your cheesecake, slice it first, then wrap each piece tightly in plastic wrap followed by aluminum foil to prevent freezer burn. It can last in the freezer for up to three months. To serve after freezing, thaw in the refrigerator overnight before enjoying, maintaining that creamy texture and flavor you love.
Questions About Recipes
→ Can I use low-fat cream cheese?
Yes, low-fat cream cheese can be used, but it may affect the texture and richness.
→ How can I avoid cracks in my cheesecake?
Cooling slowly and using a water bath while baking can help prevent cracks.
→ Can I freeze leftover cheesecake?
Yes, you can freeze cheesecake. Wrap it tightly in plastic wrap and it will last for up to 2 months.
→ What toppings pair well with New York Style Cheesecake?
Fresh berries, chocolate sauce, or whipped cream are excellent choices.
New York Style Cheesecake
Created by: The Chefellacooks Team
Recipe Type: Cake Shop Recipes
Skill Level: Intermediate
Final Quantity: 12 servings
What You'll Need
Crust
- 1 1/2 cups graham cracker crumbs
- 1/4 cup granulated sugar
- 1/2 cup unsalted butter, melted
Filling
- 4 (8 oz) packages cream cheese, softened
- 1 cup granulated sugar
- 1 teaspoon vanilla extract
- 3 large eggs
- 1 cup sour cream
- 2 tablespoons lemon juice
- 1 teaspoon lemon zest
How-To Steps
In a mixing bowl, combine graham cracker crumbs, sugar, and melted butter until well blended. Press the mixture into the bottom of a 9-inch springform pan and up the sides if desired. Bake at 350°F (175°C) for 10 minutes and then let cool.
In a large bowl, beat the softened cream cheese until smooth. Gradually add the sugar and beat until well combined. Mix in the vanilla, then add the eggs one at a time, mixing just until incorporated. Finally, stir in the sour cream, lemon juice, and zest.
Pour the filling over the crust and smooth the top. Bake in a preheated oven at 350°F (175°C) for about 60 minutes. The center should be set but slightly jiggly.
Turn off the oven and crack the door, letting the cheesecake cool slowly inside for an hour. Remove from the oven and let it cool to room temperature before refrigerating for at least 4 hours, or overnight. Serve chilled.
Extra Tips
- Letting the cheesecake cool slowly in the oven can help prevent cracks in the surface. Also, chilling it overnight gives the best flavor and texture.
Nutritional Breakdown (Per Serving)
- Calories: 380 kcal
- Total Fat: 26g
- Saturated Fat: 15g
- Cholesterol: 195mg
- Sodium: 85mg
- Total Carbohydrates: 32g
- Dietary Fiber: 3g
- Sugars: 24g
- Protein: 6g